Resin vases add a modern touch to any space, but keeping them clean is essential for preserving their beauty.
Clean resin vases using safe, gentle agents and techniques that remove stains, prevent scratches, and restore shine.
Let’s break down the best cleaning practices for resin vases.
What are safe cleaning agents for resin materials?
Choosing the right cleaning agents is crucial to protect resin while removing dirt effectively.
Use mild detergents, pH-balanced soaps, and diluted vinegar solutions to clean resin without damage.
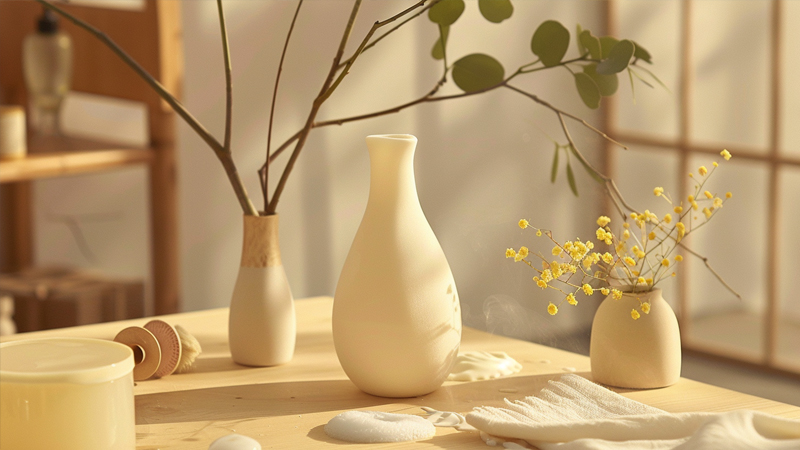
When cleaning resin vases, I learned that selecting a gentle cleaning agent is key to preserving the material’s integrity. I always opt for a mild, pH-balanced detergent1 mixed with warm water. This combination effectively lifts dirt and grime without harsh chemicals that might attack the resin’s surface. Diluted white vinegar is another excellent option for stubborn stains; its natural acidity helps break down buildup while remaining safe for resin. It’s important to avoid abrasive cleaners, bleach, or ammonia-based solutions, as these chemicals can cause discoloration or weaken the resin over time.
I typically test any cleaning solution on a small, inconspicuous area first to ensure it doesn’t affect the finish. Using a soft sponge or microfiber cloth is essential to avoid scratching the surface during cleaning. In my practice, I gently wipe the vase in circular motions, ensuring the solution penetrates any textured areas. After cleaning, it is important to rinse thoroughly with clean water to remove any residual detergent, which might leave spots once dry.
| Cleaning Agent | Benefit |
|---|---|
| Mild, pH-balanced detergent | Cleans effectively without damaging resin |
| Diluted white vinegar | Removes stubborn stains while being gentle |
| Soft sponge/microfiber cloth | Prevents scratches and preserves the smooth finish |
This careful approach helps maintain the clarity and shine of resin vases over time.
What techniques can be used to remove stains and buildup from resin?
Effective stain removal techniques involve gentle scrubbing and targeted cleaning to eliminate buildup without harming the resin.
Use soft brushes, non-abrasive sponges, and diluted cleaning solutions to lift stains and buildup from resin.
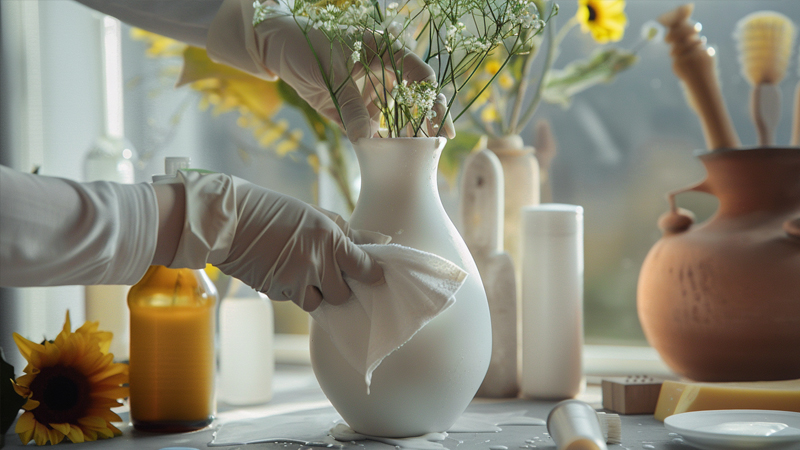
Stains and buildup on resin vases can detract from their visual appeal, but the right techniques ensure thorough cleaning without damaging the surface. I begin by gently brushing off loose dirt using a soft-bristled brush. For more stubborn stains, I apply a diluted solution of mild detergent or vinegar and allow it to sit for a few minutes. This helps to break down the grime, making it easier to remove with gentle scrubbing. It is crucial to use non-abrasive tools2; any rough material may scratch the delicate resin surface.
In some cases, I use a soft toothbrush to target small crevices and intricate details where buildup tends to accumulate. This method is particularly effective on vases with textured surfaces or decorative elements. After scrubbing, I rinse the vase thoroughly with clean water to ensure no cleaning residue remains, then dry it with a soft cloth to avoid water spots.
| Technique | Benefit |
|---|---|
| Soft-bristled brush | Removes loose dirt without scratching the resin surface |
| Diluted detergent/vinegar | Breaks down stubborn stains gently |
| Soft toothbrush | Targets detailed areas effectively |
| Thorough Rinsing | Prevents residue build-up and streaks |
These techniques, combined with careful application, help restore the vase’s original clarity and luster.
How can scratches be prevented during cleaning?
Preventing scratches is essential; using the right tools and gentle methods minimizes surface damage.
Avoid abrasive materials by opting for soft cloths, non-scratch sponges, and gentle pressure while cleaning.
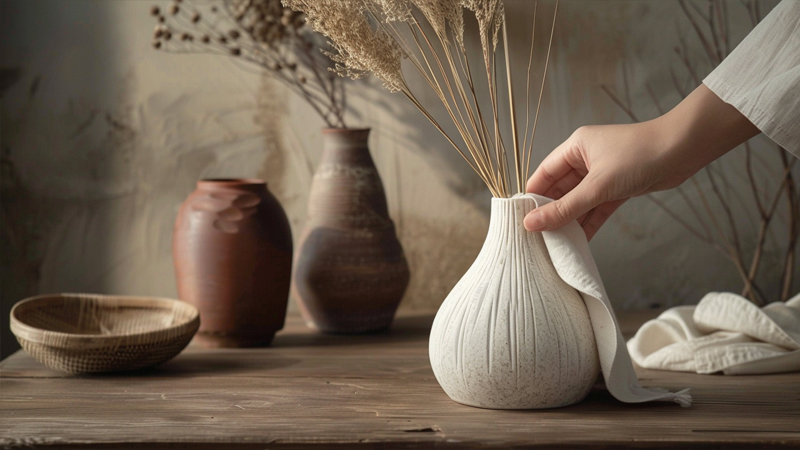
Preventing scratches on resin vases is one of my top priorities during the cleaning process. The key is to avoid abrasive cleaning tools and harsh chemicals that can erode the resin’s surface. I always use a microfiber cloth or a very soft sponge, as these materials glide over the surface without leaving marks. Gentle, circular motions are essential to lift dirt while preserving the vase’s finish. I avoid using scouring pads or rough brushes, even if the stain seems stubborn, as they can create permanent scratches.
In addition to tool selection, I ensure that the cleaning solution is properly diluted, reducing the risk of chemical abrasion. I also test any new cleaning method on a small area before applying it to the entire surface. In cases where a scratch already exists, I sometimes apply a resin polish3 specifically formulated to fill in and smooth out minor abrasions. This approach not only minimizes further damage but also enhances the overall appearance of the vase.
| Scratch Prevention Method | Benefit |
|---|---|
| Soft microfiber cloth | Provides gentle cleaning without scratching |
| Non-abrasive sponges | Lifts dirt without damaging the surface |
| Diluted cleaning solutions | Reduces risk of chemical abrasion |
| Resin polish | Helps smooth and repair minor scratches |
These preventive measures have consistently helped me maintain a pristine, scratch-free finish on my resin vases.
What are the best drying and polishing techniques for resin materials?
Effective drying and polishing enhance resin’s appearance, ensuring a smooth, lustrous finish.
Air drying combined with gentle polishing using a soft cloth and non-abrasive polish yields a pristine resin finish.
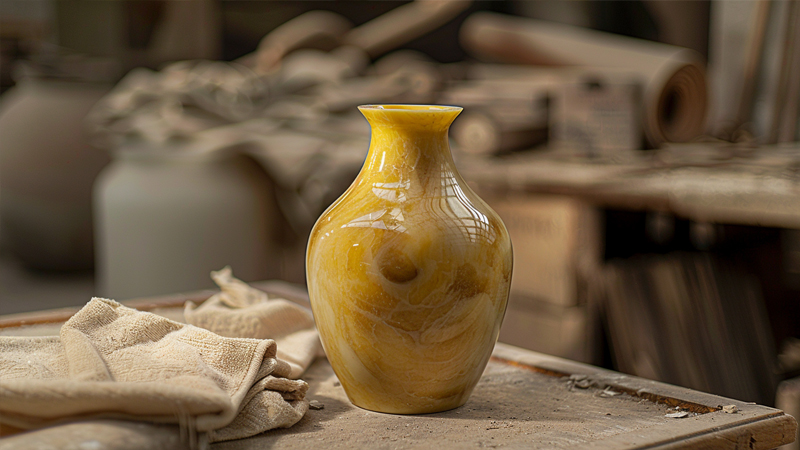
After cleaning a resin vase, proper drying and polishing are essential to restore its shine and ensure longevity. I always let the vase air dry in a shaded area to avoid direct sunlight, which can cause uneven drying and potential color fading. Once the vase is mostly dry, I use a soft microfiber cloth to gently buff the surface. This step is crucial because it removes any remaining moisture and restores the natural gloss of the resin. For added luster, I sometimes apply a small amount of a non-abrasive resin polish. This polish is designed specifically for synthetic resins and helps fill in minor imperfections while enhancing the overall shine.
It’s important to apply the polish in a thin, even layer, using circular motions to avoid streaks. I then allow the polish to set for a few minutes before giving the vase a final buff with a clean, dry cloth. These techniques not only improve the appearance of the vase but also provide a protective layer against future wear. Regular polishing, combined with proper drying techniques, has helped me maintain the vibrant, glossy finish of my resin pieces over time.
| Technique | Benefit |
|---|---|
| Air Drying4 | Prevents water spots and uneven drying in direct sunlight |
| Microfiber Buffing5 | Restores natural gloss without scratching |
| Non-Abrasive Resin Polish6 | Enhances shine and smooths out minor imperfections |
| Circular Application | Ensures even distribution of polish without streaks |
Conclusion
Gentle cleaning, careful drying, and precise polishing keep resin vases vibrant and intact.
-
Explore this link to understand how mild, pH-balanced detergents can effectively clean resin without causing damage, ensuring longevity. ↩
-
Learn about non-abrasive tools that ensure safe cleaning of delicate surfaces like resin without scratches. ↩
-
Discover how resin polish can effectively repair scratches and enhance the appearance of your resin items. ↩
-
Explore the advantages of air drying to prevent water spots and ensure an even finish for your resin pieces. ↩
-
Discover how microfiber buffing can restore gloss without scratching, ensuring a pristine finish for your resin pieces. ↩
-
Learn about non-abrasive resin polish to enhance the shine and protect your resin items effectively. ↩


